

How to Replace the Blade on Your DiamondCore Pottery Needle Tool
If the blade on your pottery needle tool has become bent or otherwise damaged, there’s no need to toss the entire tool. You can simply replace the blade!
Replacing the blade on your DiamondCore needle tool is easy. With a few simple steps, you can install a fresh blade and get back to precision scoring and detail work in no time. We’ll walk you through it step by step below.
Step 1: Loosen and Remove the Thumb Screw
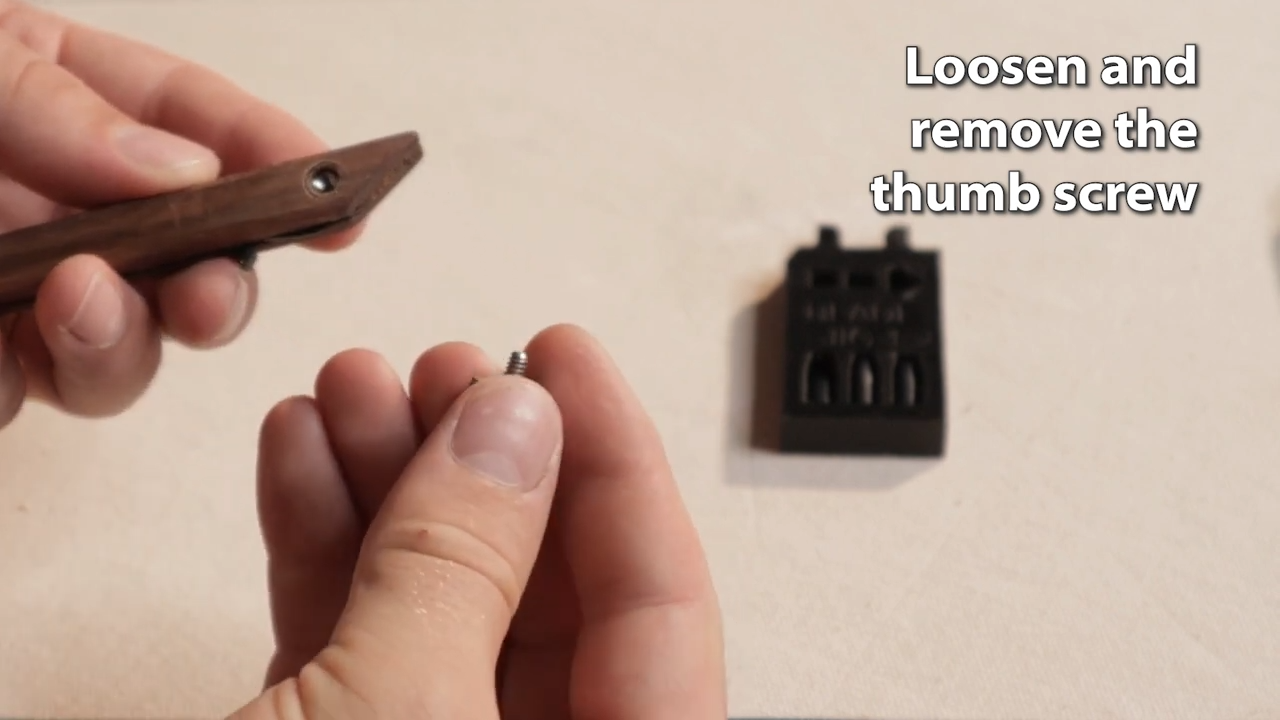
Start by loosening the thumb screw on the back side of your pottery needle tool. Set the screw aside in a safe place. You’ll need it later to secure the new blade.
Step 2: Remove the Old Blade and Washers
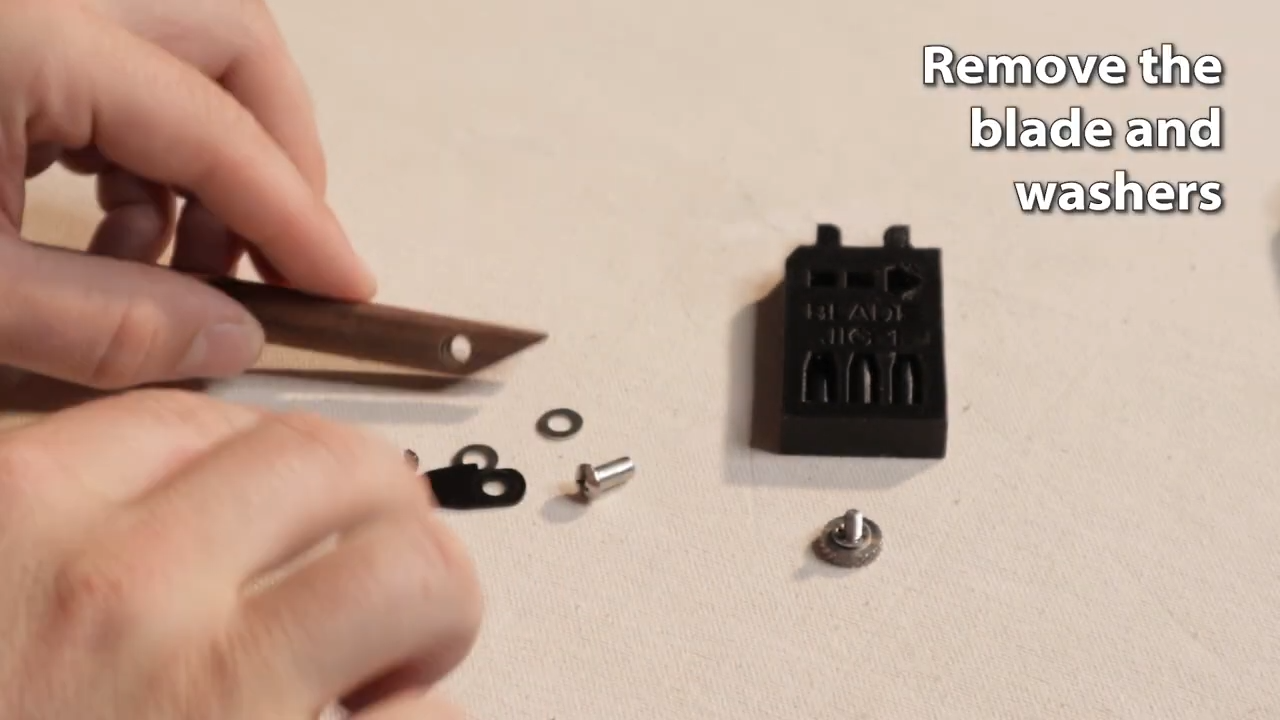
Once you’ve removed the thumb screw, the original blade and two washers should come out easily. Gently pull them from the handle. Remember that the tip can still be sharp, so you’ll want to use extra caution to avoid poking yourself.
Step 3: Prepare the Jig and Insert the Blade
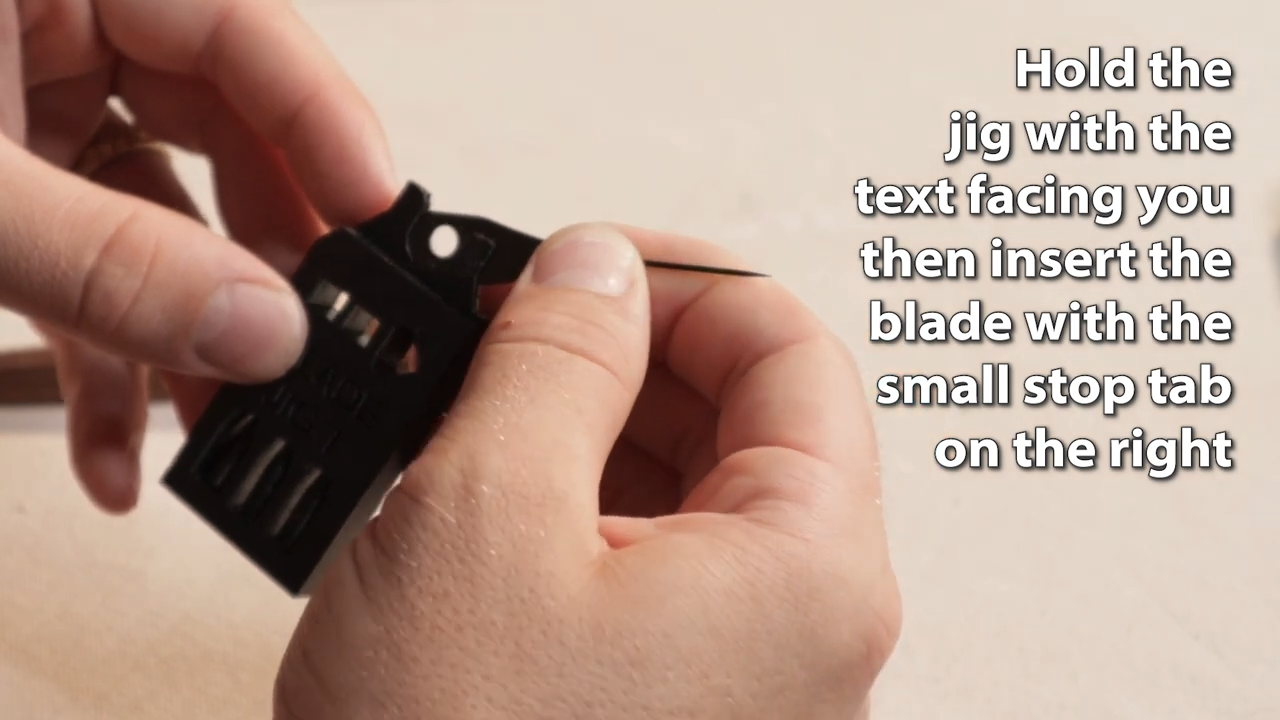
Hold the jig so that the engraved text is facing you. Take your new blade and insert it into the jig with the small stop tab on the right-hand side. (Double-check the orientation to make sure you’re inserting the blade in the right direction.)
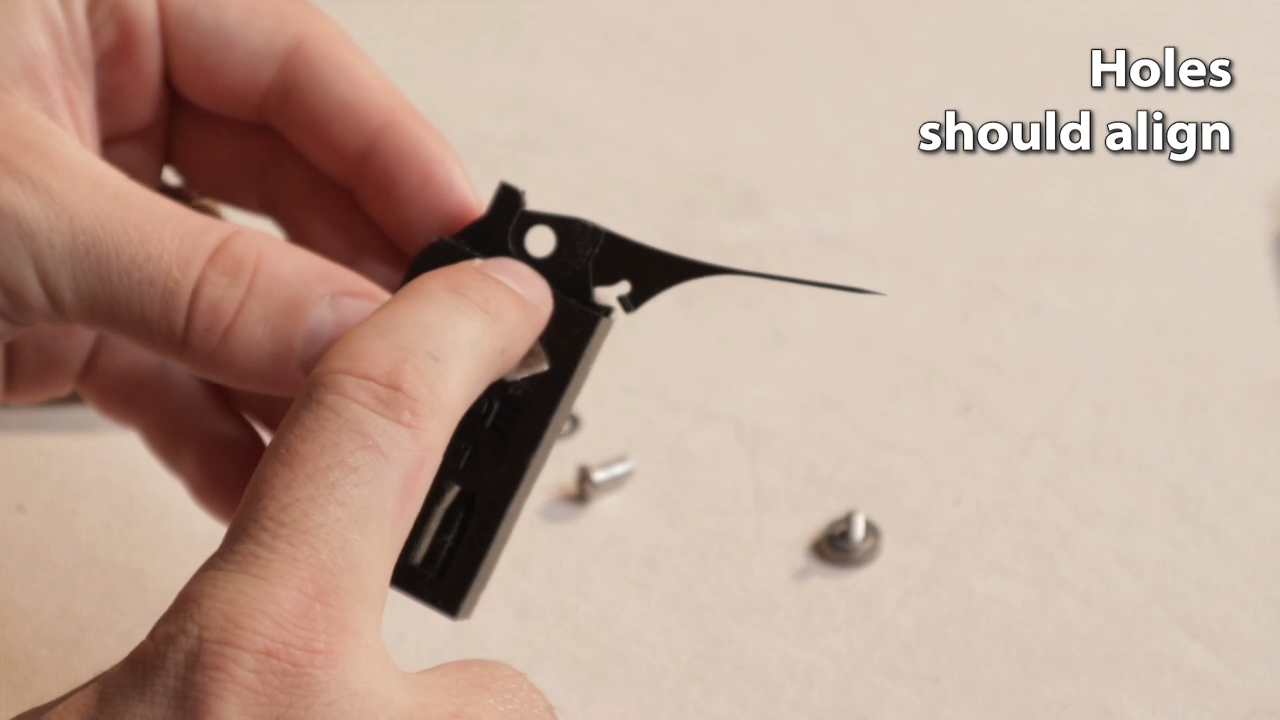
At this point, the hole in the blade should line up perfectly with the hole in the jig.
Step 4: Position the Handle
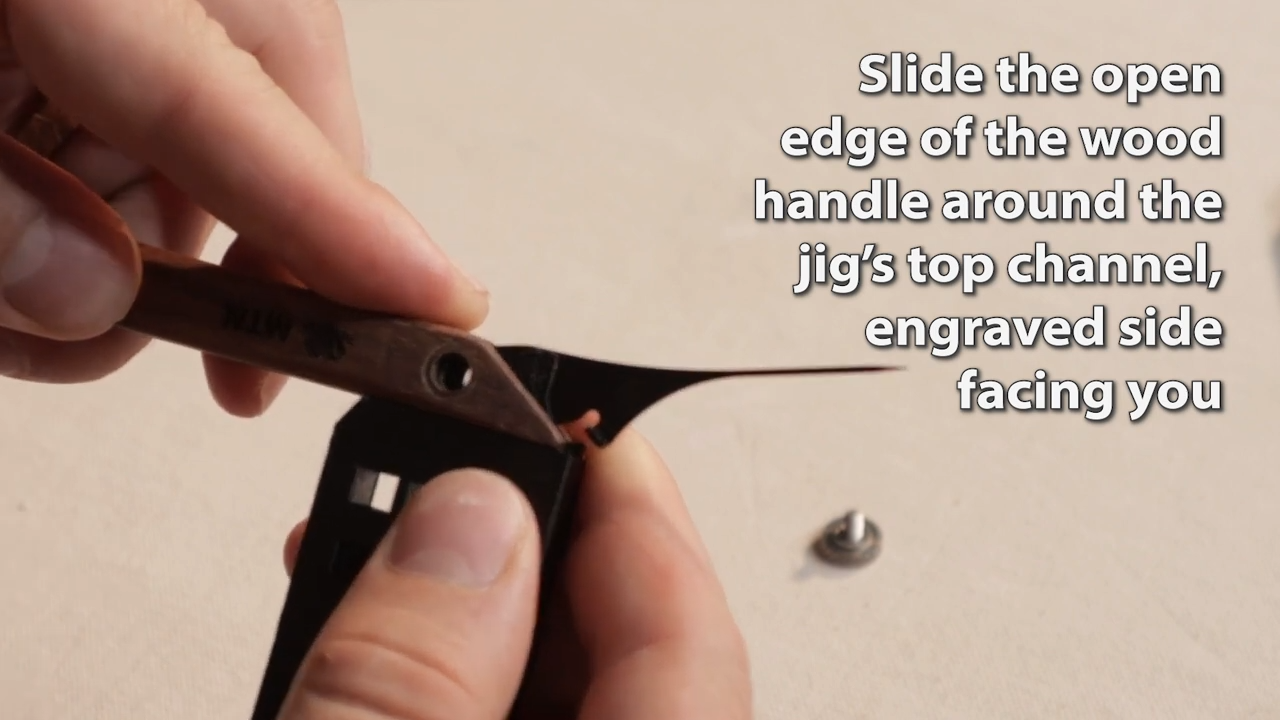
Next, take your needle tool handle. With the engraved side facing you, slide the open end of the wooden handle over the top of the jig. Again, align it so the holes in the handle line up with those in the blade and jig.
Step 5: Insert the Washers
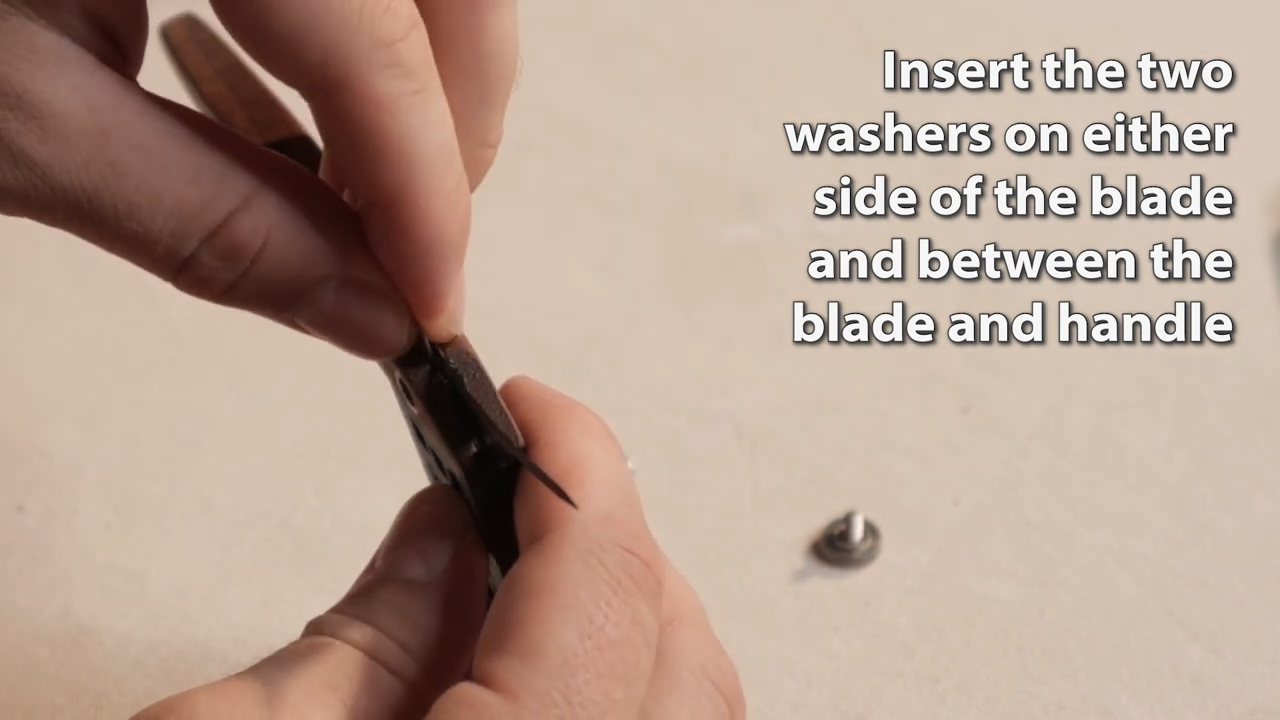
Now, take the two washers that you set aside. Place one on each side of the blade, sandwiched between the handle and the blade itself. These washers help stabilize the blade and ensure smooth operation during use.
Step 6: Insert the Barrel Bullet
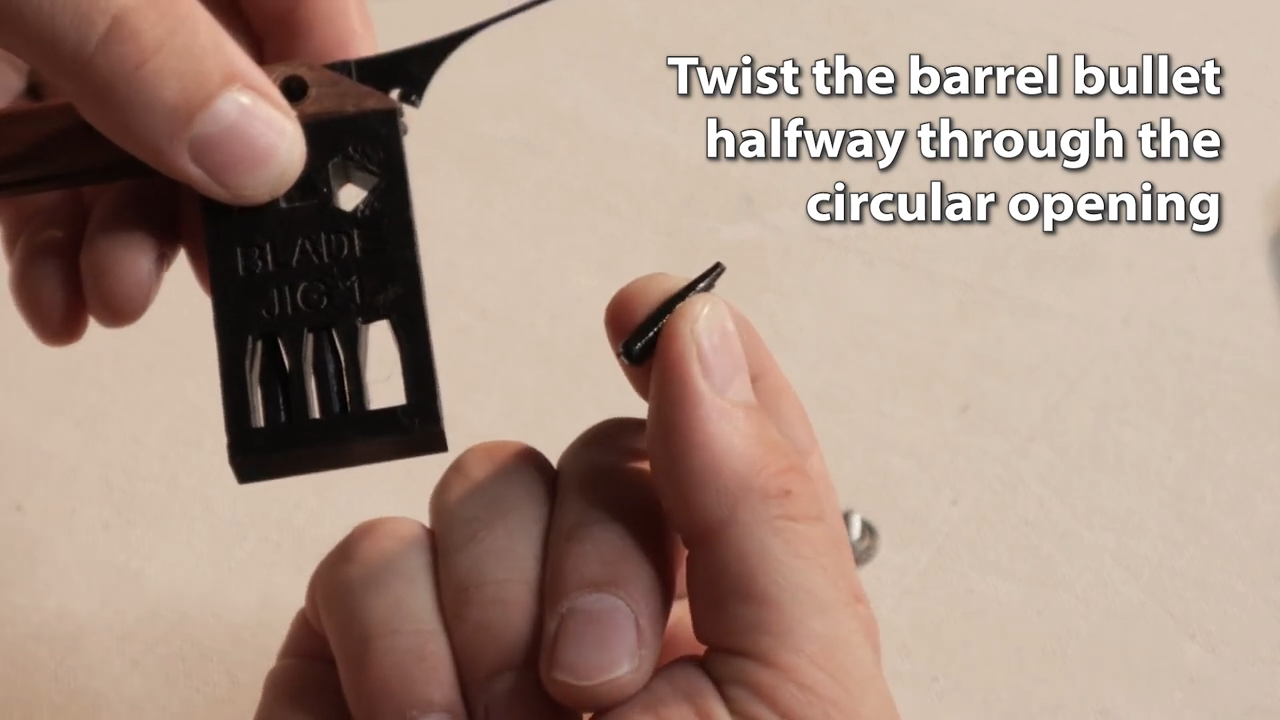
Now, take the barrel bullet and insert it halfway into the aligned circular opening. It should go in smoothly and hold everything in place temporarily.
Step 7: Secure with the Barrel
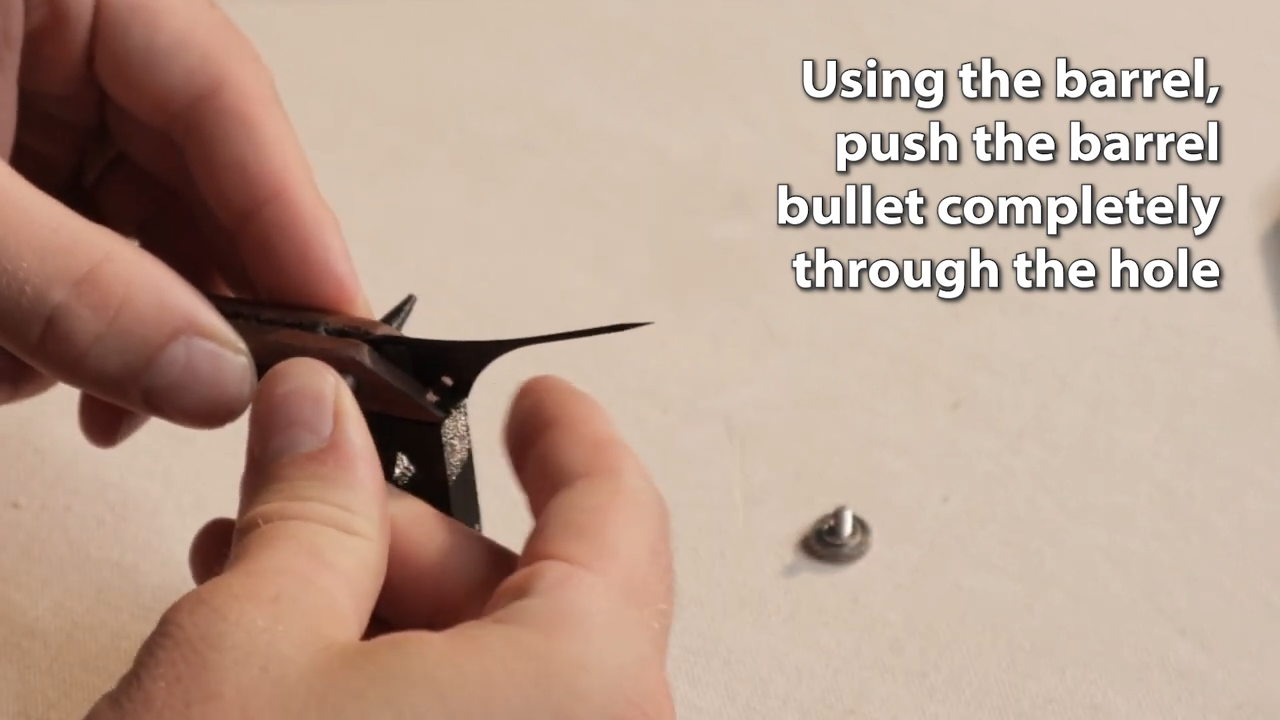
Use the barrel to push the barrel bullet completely through the hole. This locks all the components together and prepares the tool for final assembly.
Step 8: Attach the Thumb Screw
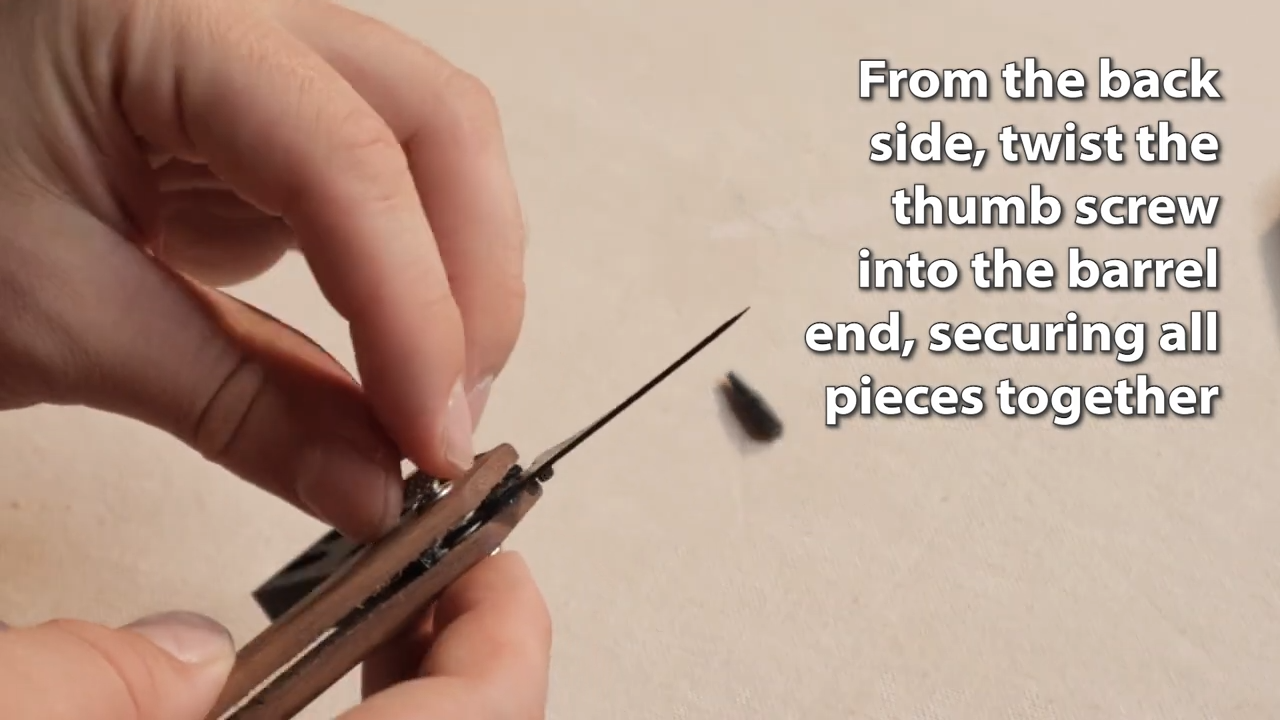
Flip the tool over to the back side. Insert the thumb screw into the visible end of the barrel and twist tightly until it’s snug. This final twist locks the blade, washers, and wooden handle together.
Step 9: Remove from the Jig
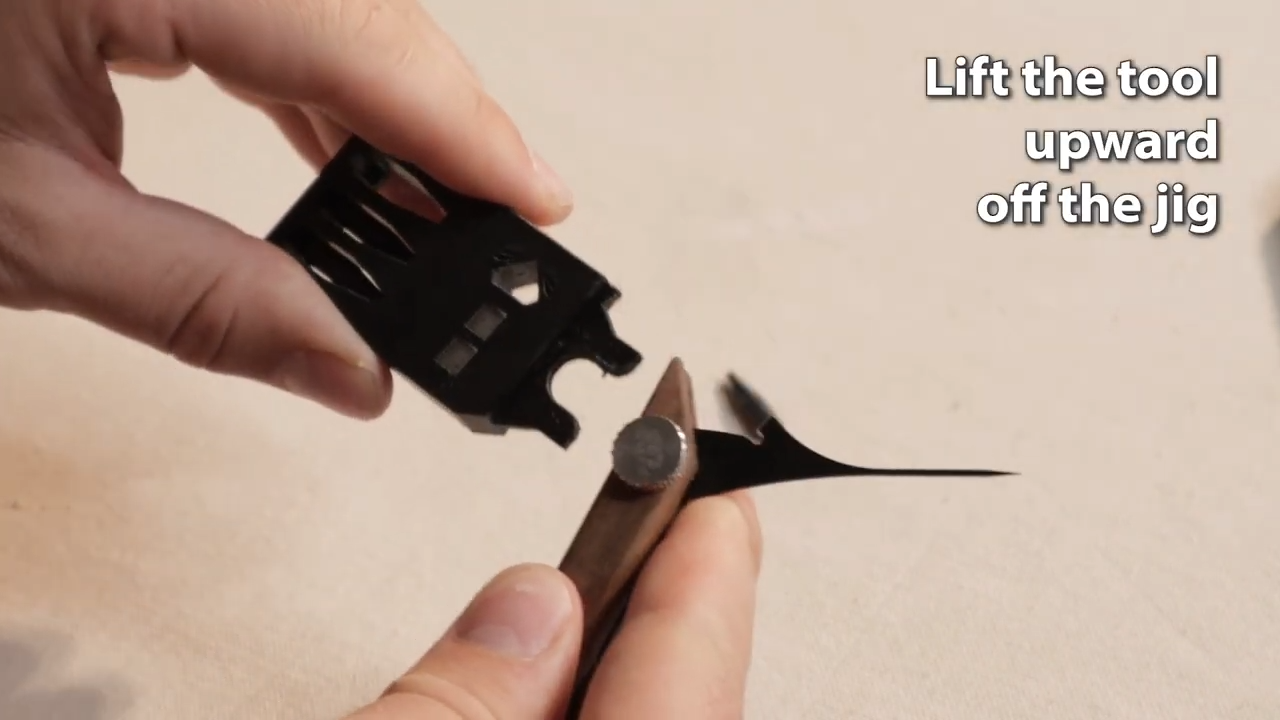
With everything assembled, gently lift the pottery needle tool off the jig using an upward motion. It should slide off easily with minimal resistance.
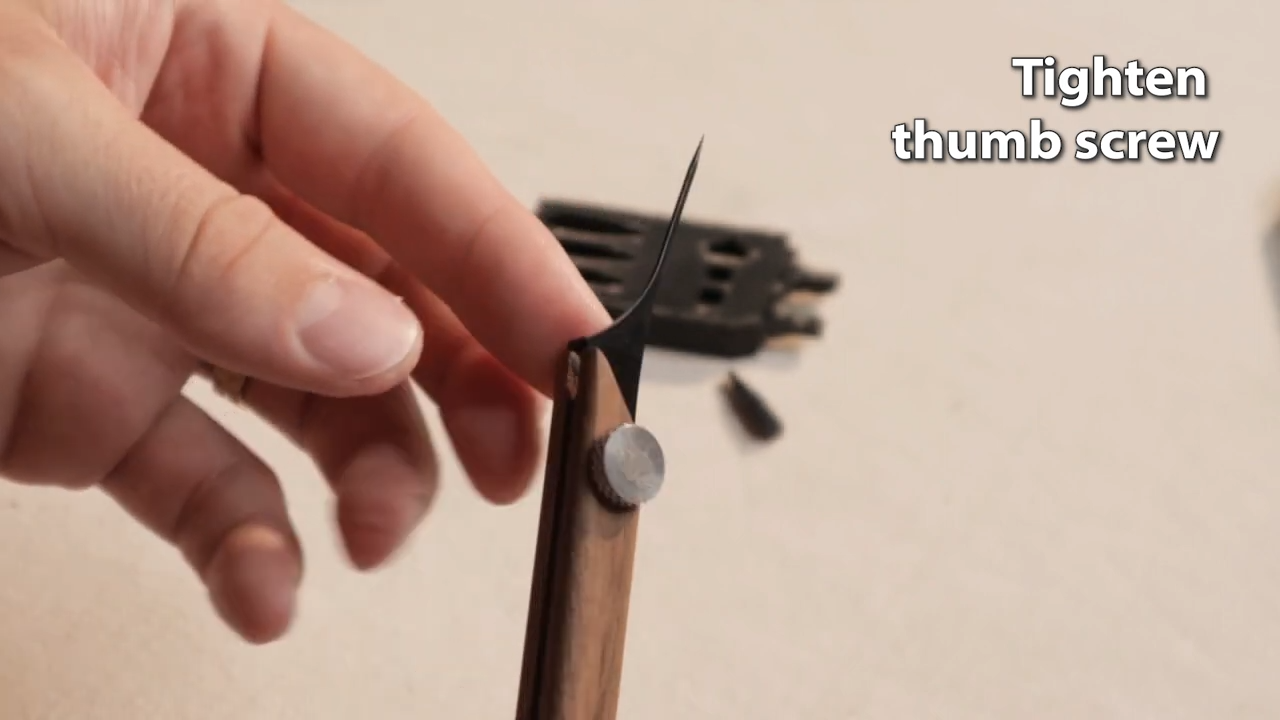
Step 10: Final Tightening
Pro Tips for Pottery Tool Blade Replacement:
-
Work on a clean, flat surface. This will help you avoid losing your washers, screws, or any small parts accidentally.
-
Use needle-nose pliers if you’re having trouble gripping the barrel bullet or washers. These can make the process go a little easier and reduce the risk of accidentally dropping the small pieces.
-
Use caution when handling the blades to avoid accidentally injuring yourself. They’re designed to be sharp! Keep away from children or pets.
Upgrade Your Pottery Tool Kit With DiamondCore
Whether you're just replacing a blade or refreshing your entire pottery tool set, we’ve got you covered. Our high-quality pottery carving, trimming, and grinding tools support every stage of your creative process. From extra sharp blades to ergonomic handles, all of our ceramic tools are designed by artists, for artists.
Explore our full line of tools and replacement blades today.
Leave a comment